Diarmuid Breatnach
(Reading time: 10 mins.)
One of the consumables most regularly needed in households is bread. In the present circumstances it may not be so easy to purchase some and also going to shops and bakers entails a certain amount of health risk. However, we can make soda bread at home easily enough and have fresh, healthy bread daily.
Soda bread, brown, white, with and without dried fruit, is a traditional Irish bread and for decades was the daily bread in the rural areas. This is not a traditional recipe.
Apart from a source of sufficient heat, we will need
-
flour,
-
bicarbonate of soda,
-
a little salt,
-
milk
-
and a little edible acid like lemon juice or vinegar.
And since milk is another consumable that needs replenishing regularly, we can use it when it is ‘going off’ or dried milk powder instead.
We will need also some kind of mixing bowl, a strong metal fork and a heat-resistant receptacle.
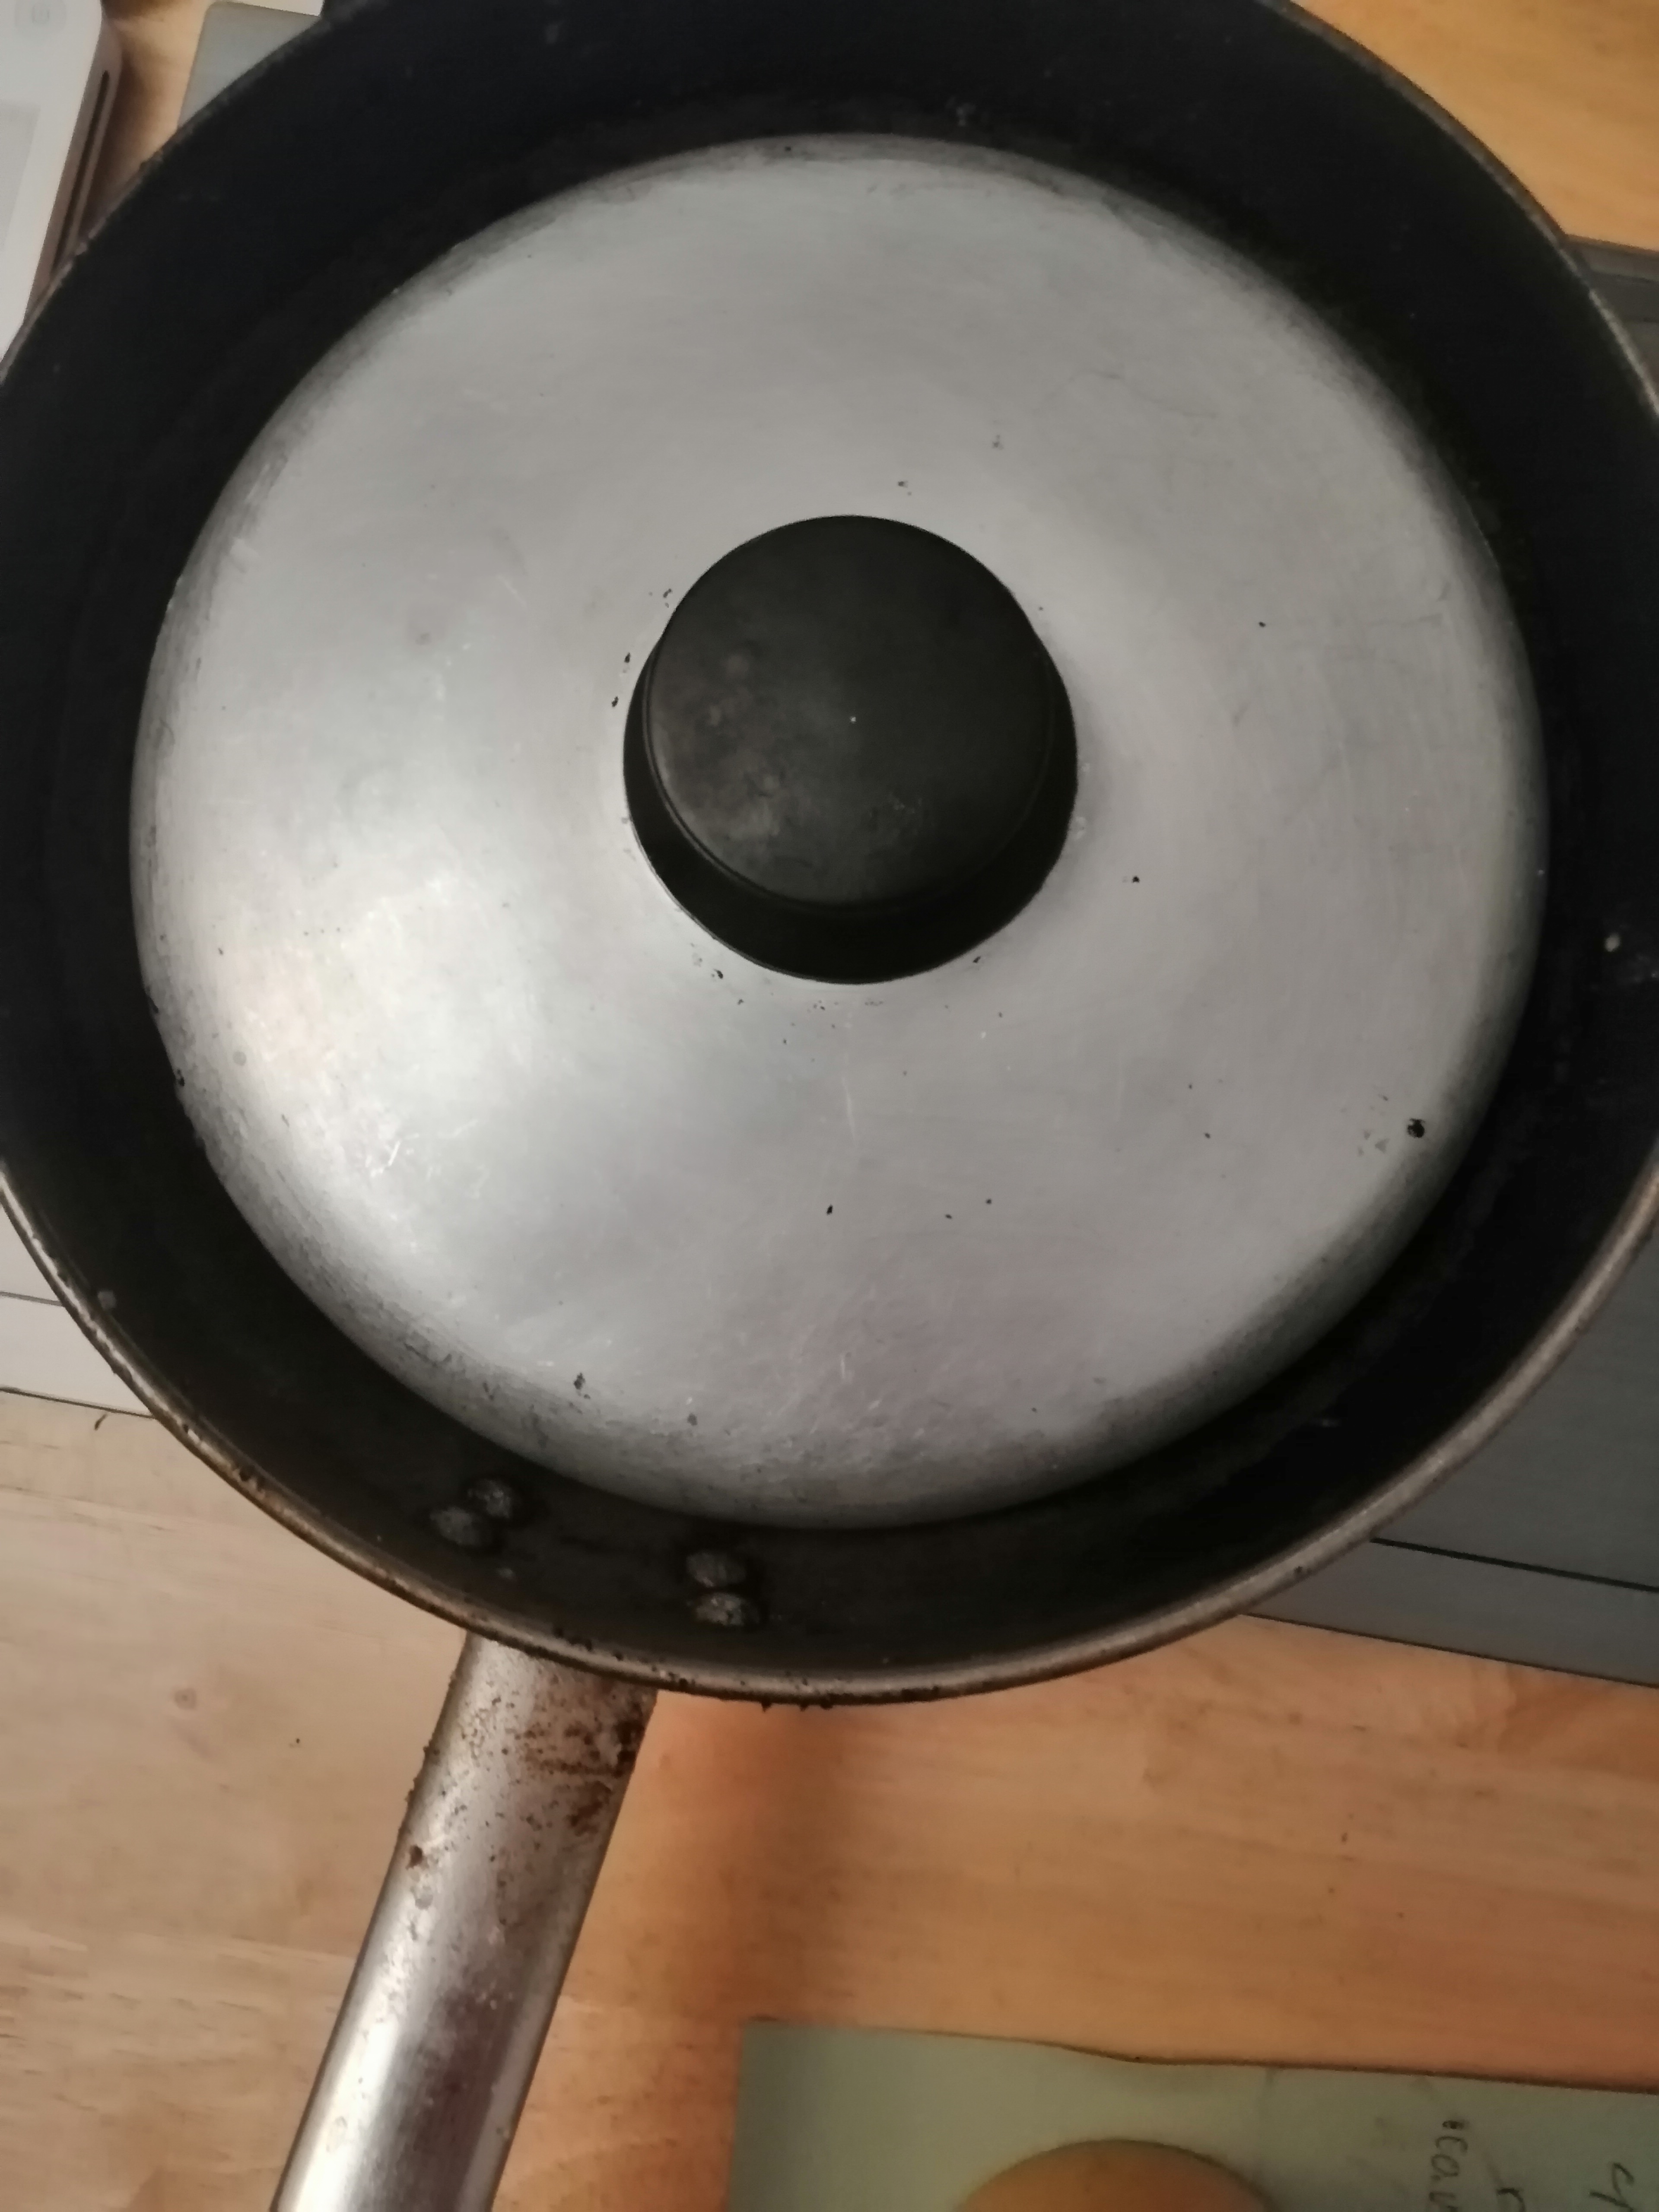
The following directions are for making small amounts of bread at a time, not in ovens but on top of hot plates or gas rings. The heat-resistant receptacle will be a frying pan or wok. In order to contain the heat sufficiently for long enough, we will also need something like a curved lid (the dough will rise or expand).
(Photo: D.Breatnach)
I am going to describe two variations in preparing the dough, one needing a board to work it on and another straight from the mixing bowl to the heat.
Both variations:
-
In the mixing-bowl
-
pour the flour (for quantities and recommendations see further below)
-
a level teaspoonful of bicarbonate of soda
-
a few pinches of salt
-
soured milk (either gone sour already or soured with a squirt of lemon juice, a few drops of vinegar etc.)
-
Mix with fork, not only round and round but folding over and over
-
Put frying pan or wok on to heat high with little oil or butter (to prevent the dough sticking)
-
Drop the dough into the pan or wok, turning it often
-
Turn the heat down low within a minute of turning the dough
-
Cover with a curved lid in which you have sprinkled some water (for steam for the bread)
-
It is useful to turn the dough a few times while baking to prevent a very hard crust forming
-
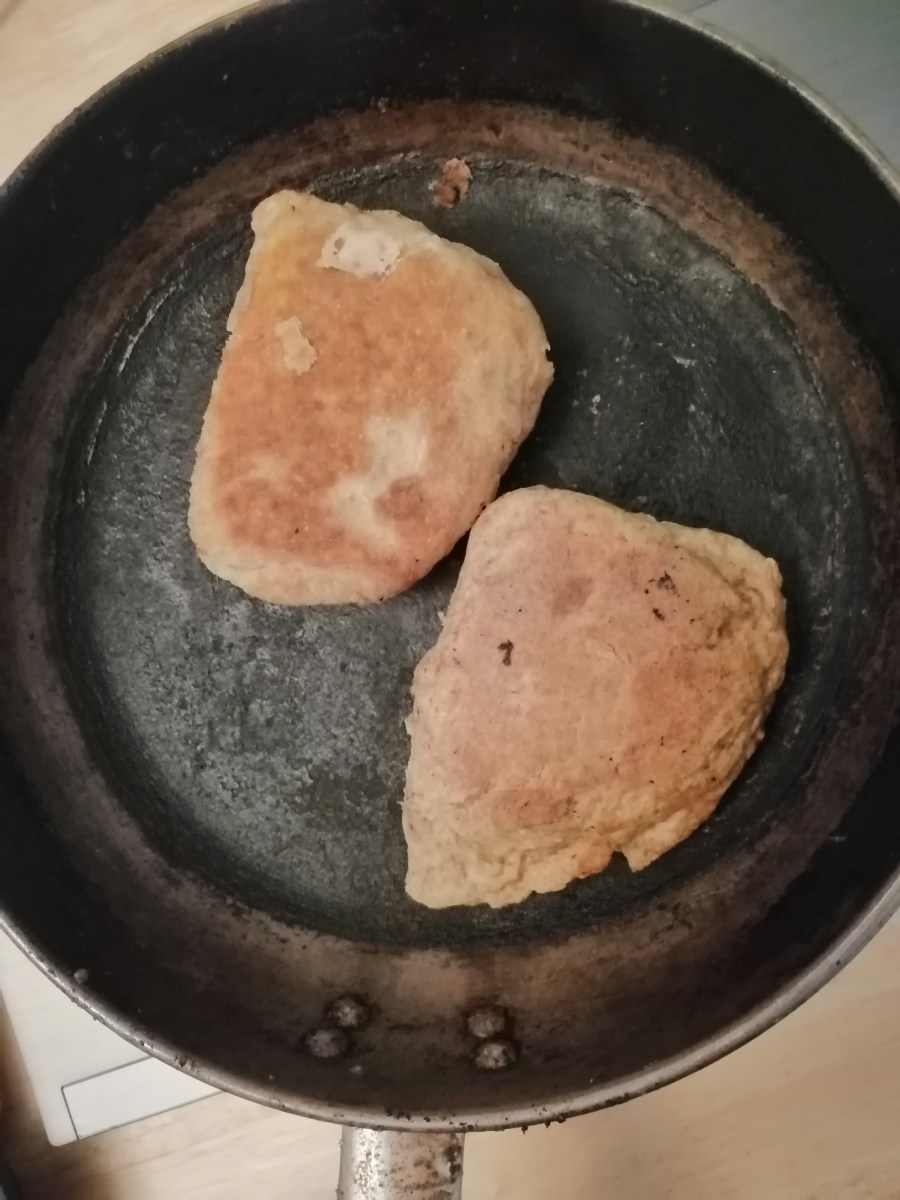
After about five minutes, take the bread out and tap it sharply with your fingers
-
When the bread gives a hollow sound on both sides when tapped, it is ready
-
Leave out to cool

(Photo: D.Breatnach)
1. Type without working the dough:
-
Mix it quite wet, adding a little water from time to time if necessary
-
Divide the mix into two or three lumps
-
Drop into the heated receptacle
-
You may want to smooth it with a damp spatula, back of a spoon, etc
-
Turn not only front to back but on all sides too
-
Lower heat, cover etc.
-
This will tend to produce round or oval shapes of bread
2. Type working the dough:
-
Mix it as dry as you can (but still mixed thoroughly into one mass)
-
Lay out your board, lightly sprinkled with flour
-
Tip the dough onto the board
-
Dip your hands in nearby flour, getting it all over palms and fingers
-
Sprinkle a little flour on top of the dough mass
-
Press down on the mass, flattening it
-
Turn it and press down again
-
Keep dusting your hands with flour as often as necessary (and the board, if the dough sticks)
-
When the mixture is totally flat, fold it half over and press down again
-
Continue doing this a number of times (you may notice a tendency for the shape to become triangular or even square through the folding)
-
Place on the heated receptacle (or, before doing so, press down the edges particularly all around the mass and cut in half)
-
Turn a few times while lowering the heat
-
Cover and test in about five minutes, etc.
FLOUR TYPES AND APPROXIMATE QUANTITIES
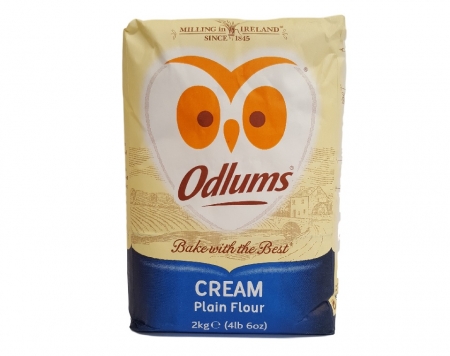
Wholemeal flour and oatmeal (as for porridge) are healthier than white flour (which should be plain, not self-raising) but white gives a lighter bread and is cheaper than wholemeal, because it is easier to keep. I mix one half mug of wholemeal to one mug-and-one-half of white plain, with a quarter of oatmeal.
Add a little milk at a time as necessary until you get used to knowing how much is needed. When using dried milk, we can mix it in the flour dry and add water as we mix or mix it in advance to make liquid milk; in this case every single ingredient can be a dry food with a preserve (if using vinegar).

ADDITIONAL NOTES
In Ireland, I prefer to use established brands like Odlums or Flavahan’s, rather than supermarket brands, even though the latter are usually cheaper.
The bread tastes better if made daily but to keep fresh, place inside a paper bag inside another of polythene and slice as needed. Making smaller amounts at a time, it is easier to judge the heat and time, otherwise one may find that the bread sounds hollow when tapped, as though cooked through, but at the centre there is still a mushy part.
The most taxing part of the process is the mixing the dough which is wearing on the wrists and men, known to generally have stronger wrists (no bawdy comments please) can at least carry out this part of the process and, having done so, sure might as well see the whole thing through.
end.

